CALI All Stars ProShop
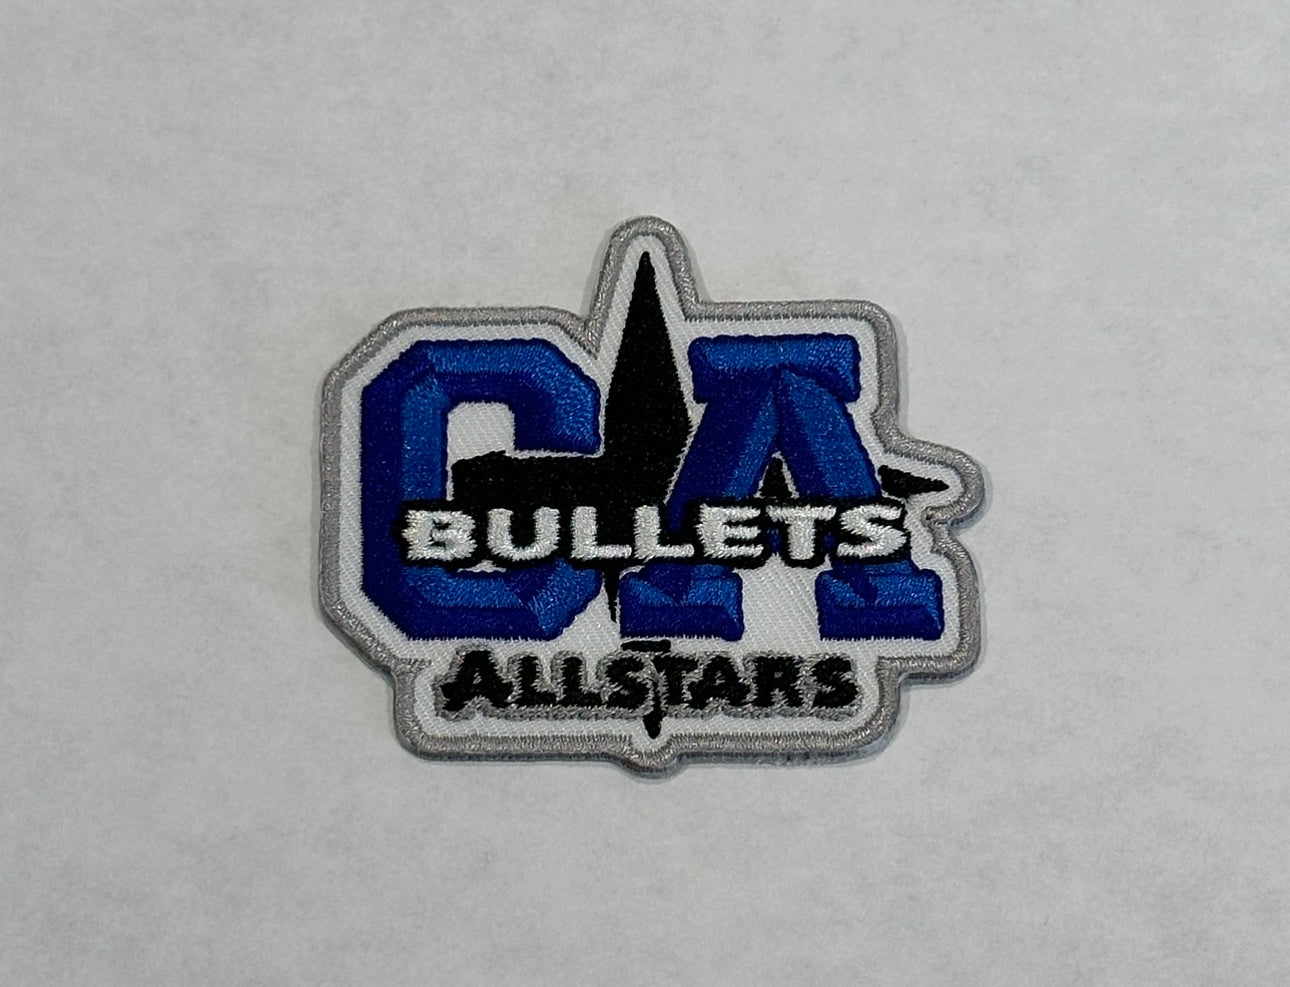
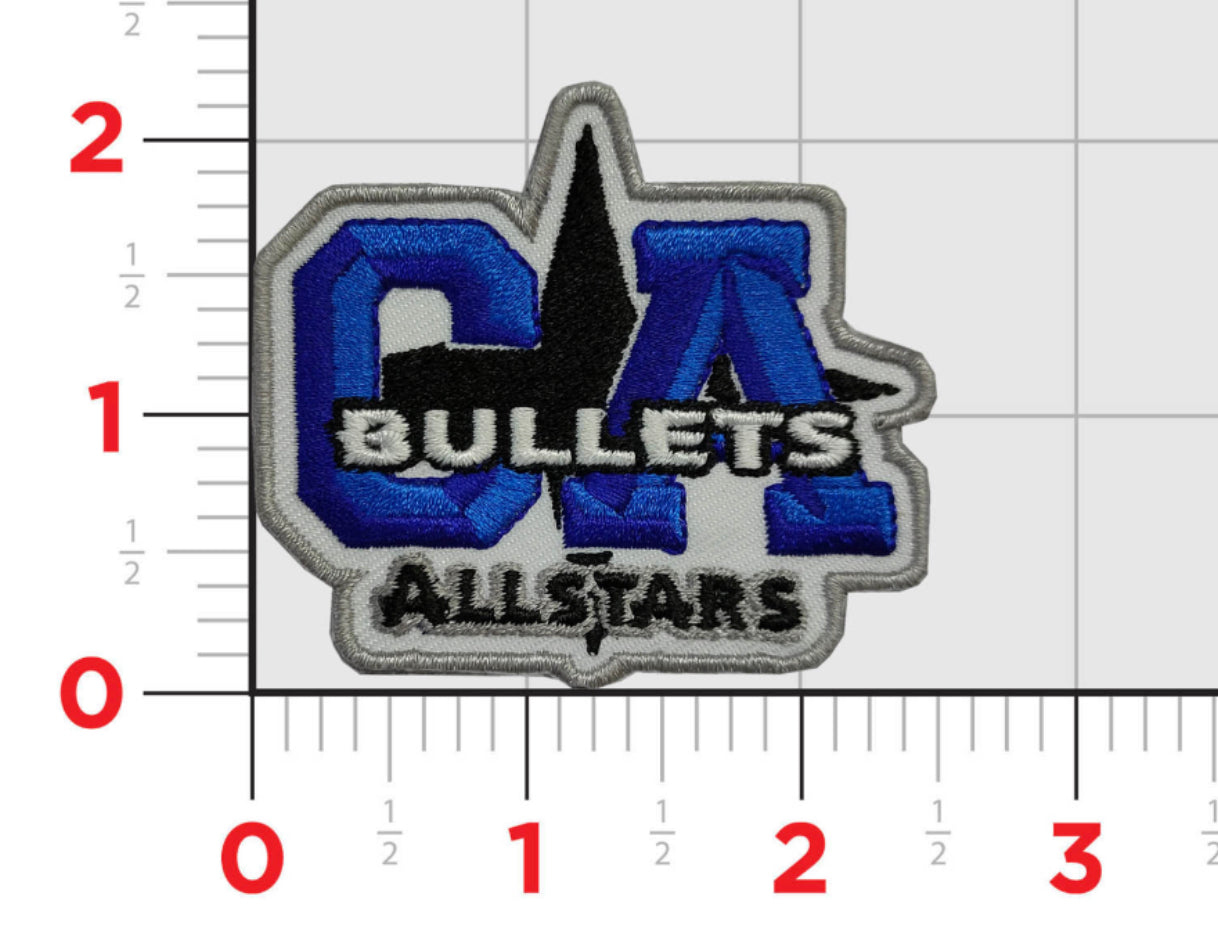
CALI Logo Patch
CALI Logo Patch
Couldn't load pickup availability
Iron on patch
Size: 2.5"
1. Ensure Clothing is Washed, Dry, and Wrinkle-free
Before you begin, make sure your garment is ready for application. Keep your clothing washed, dry, and wrinkle-free to ensure the patch sticks properly. Then, lay the garment on the ironing board.
2. Set the Iron to the Proper Settings
Set the iron to the correct settings based on your material. Delicate fabrics like fleece require low heat, while polyester or cotton can handle medium or medium-high heat. If you’ve got heavy fabrics such as canvas or denim, crank the heat up to high. And if your iron has specific fabric settings, choose one that matches your fabric.
3. Iron the Area Before Placing the Custom Patch
Next, iron the area of the garment where you intend to place the patch. This step will help activate the adhesive backing, ensuring it melts and fuses with the fabric.
4. Place a Towel Over the Garment and Press the Iron
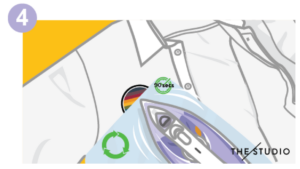
Now you’re ready to place the embroidered patch on the desired area. Once positioned correctly, place a thin tea towel or cloth over the patch.
Press the cloth firmly with the iron, keeping the iron moving in a slow circular motion for at least 90 seconds. Ensure you’re ironing across the edges and corners of the patch for secure attachment.
5. Check to See that the Patch is Applied Correctly
Check whether the patch is adhering by lifting or tugging at the patch.
6. Reverse the Material Inside Out
Assuming the patch is adhering, reverse the clothing inside out. Place the washcloth or towel over the patch. Then, press and move the iron in a slow circular motion for around 30 seconds.
7. Let the Clothing Cool
Remove your tea towel or washcloth and ensure the patch is securely attached. Do the movement test: if it doesn’t withstand your body movement, repeat the ironing process until the patch is secure. Once the patch adheres well, let it cool.
8. Enjoy!
Enjoy your newly customized clothing, and get ready for compliments!